
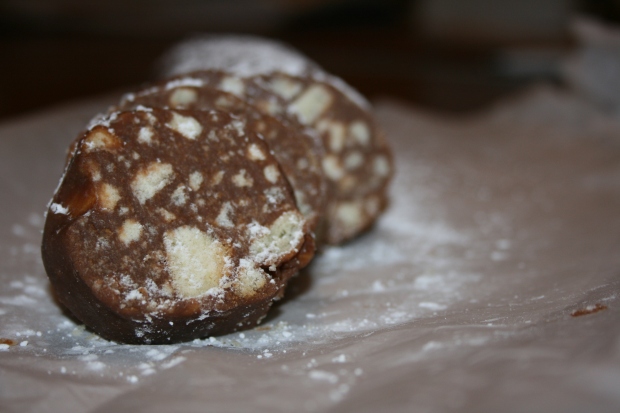
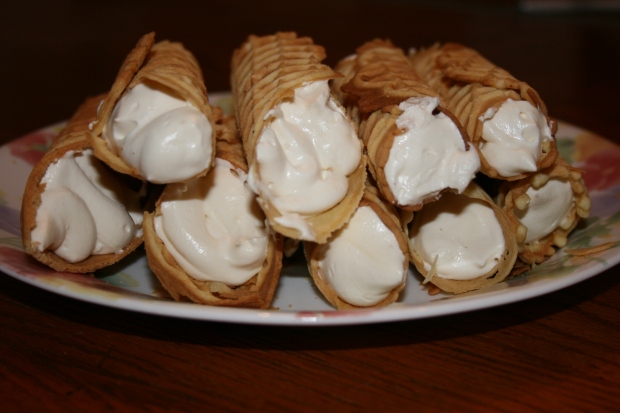
My brother came home from school this week, he has been taking Russian as a foreign language and that inspired me to try and make Russian food. Now it has come to my realization that it is common in Russia to take food and shape it into various other objects. One of these things that I found to sound the most interesting was chocolate salami. When I first heard the name I thought, “What the heck, why would anyone in their right mind combine salami and chocolate, that’s just disgusting.” Upon further research I discovered that there is no real salami in the dessert, I was relieved that that monstrosity was not a real thing. Beyond this delicious sounding dessert, I stumbled upon a dessert that reminded me much of an Italian dessert, it is Trubochki called and is a pizzelle filled with cream.
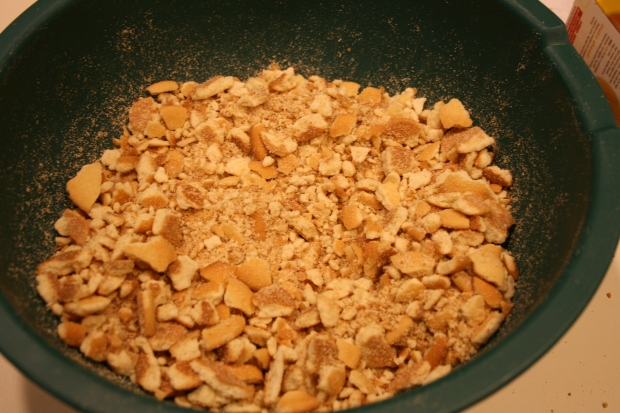
I began my journey to Russia by making the chocolate salami. The recipe wanted you to crush the vanilla wafers and it stated that you could use your hands or with a rolling pin. Being the young child that I am at heart I thought it would be fun to crush them with my hands. Let me be the first to tell you, crushing that many vanilla wafers kill your hands. I am pretty sure my hands were sore the next day if that is any indicator. But I went on to mixing the chocolate and all that sweet stuff and combined it. I got to the point where I needed to shape the mixture into sausage and I struggled with getting it to stick to the parchment paper. This stuff would stick to just about everything much like gum on a hot day.
Now at this point, I was tired but… you can’t give up on making cookies! Everything was going exactly as planned in the cookie making department until I went to make the cream filling. I went to open the can of sweetened condensed milk when I felt a pain go up my arm and I realized that I had cut my finger. Being the good cook that I am I immediately put the can down and went and cleaned my wound, I even dressed it with a nice star wars band aid. One piece of advice that I would give for this recipe is instead of using a marker, use something like a handle of a whisk. You run less chance of somehow getting ink in the pizzelle.
I would give both of these recipes a 10/10 because they had such great flavor and I wasn’t able to stop eating them. I ate an entire roll of the chocolate salami by myself as a snack one day. If you are looking for a quick dessert to bring to a family gathering I would definitely recommend the chocolate salami. The pizzelle took a bit longer but they are well worth the wait
Chocolate Salami
1 1/2 packages (about 11 oz each) of vanilla wafers
2 sticks of butter, melted
3 Tablespoons cocoa
1 (14 oz) can sweetened condensed milk
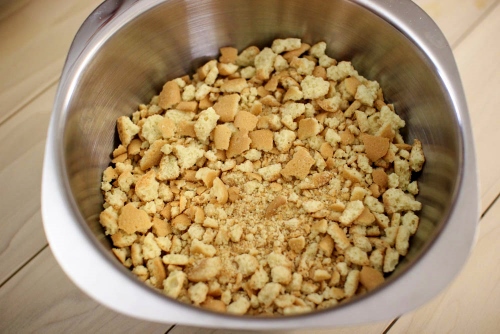
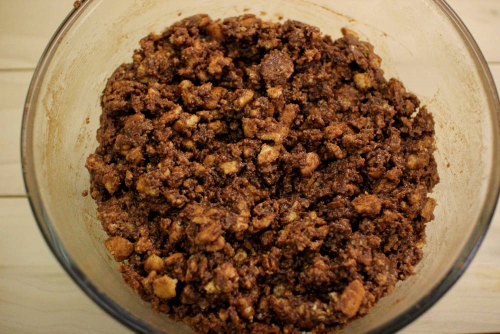
Most boxes of vanilla wafers are approximately 11 oz each. For this recipe, you’ll need to use 1 and 1/2 packages of vanilla wafers.Crush the cookies so you have some coarse pieces and smaller. You can use your hands, or use a rolling pin or a mallet to crush the cookies right in the bag that they are packaged in.
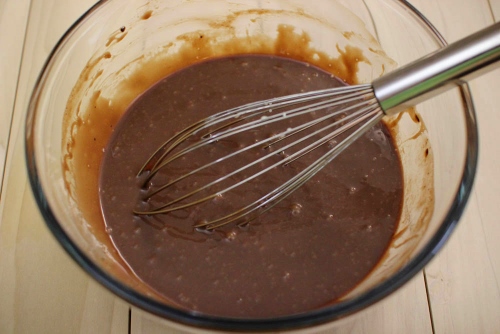
In a large bowl, mix the melted butter, cocoa and a can of condensed milk.
Add the crushed cookies to the bowl and mix to combine
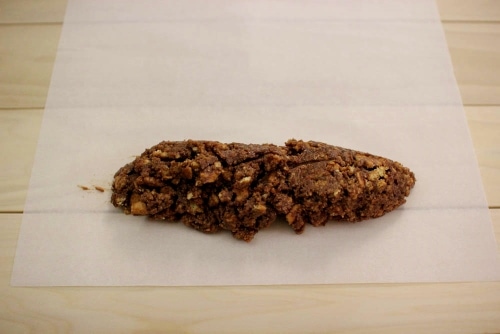
Scoop out part of the mixture onto parchment paper or aluminum
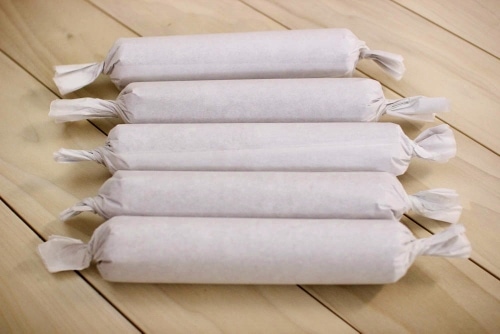
Shape the cookie mixture into the shape of a log and wrap it tightly inside the parchment paper or aluminum foil. You should have 4-5 chocolate salamis.
Chill in the refrigerator or the freezer. When you’re ready to serve, sift some powdered sugar over the Chocolate Salami and slice into pieces.Trubochki
Ingredients
- 6 eggs
- 1½ cup sugar
- 1 cup butter melted, (2 sticks)
- 2 teaspoons vanilla
- 2½ cups flour
- 4 teaspoons baking powder
- 1 (8 oz) package cream cheese softened
- ½ – ¾ can condensed milk
- 1 teaspoon vanilla
- 8 oz container Cool Whip or 8 oz of whipped cream
Instructions
- Whisk the eggs and the sugar until pale yellow, thick and frothy.
- Add the melted and cooled butter and vanilla. Mix to combine.
- In a separate bowl, whisk the flour and baking powder together. Add to the batter. Mix to combine.
- Heat the pizzelle press until it’s hot. Using two small spoons, place about a Tablespoon of batter slightly behind the center of each pizzelle design. The batter will spread forward as it bakes. Bake for a few minutes, just until the pizzelles are slightly golden.
- Working quickly, wrap the hot pizzelles around a clean marker. You won’t be able to shape them into a cylinder if they cool even a little bit, so work really fast. You don’t need to use a marker, but it’s easier for me that way. Repeat will all the batter.
- Meanwhile, to make the filling, using a paddle attachment on a standing mixer or using a hand mixer, cream the cream cheese and condensed milk until the mixture is smooth.
- Add the vanilla. Fold in the Cool Whip or whip up some cream in a separate bowl and fold into the cream cheese.
- Fill a piping bag with the filling and fill the pizzelles.

